It's pie time again! Thanks to some canned peaches from Costco and frozen pie crusts, I didn't even need to go out and brave the snowstorm to get ingredients. I'll skip posting the recipe since the peaches weren't peachy enough, but the crust turned out great. Now that I know how easy this is, I will stop skipping the blind-baking step and have better pies. Eventually I'll practice making my own crust but for now I still use the pre-made frozen ones. One baking step at a time.
 |
| Frozen pie crust with parchment paper and dry rice |
How to Blind-Bake a pie crust:
Blind-baking involves filling an uncooked crust with dried rice, beans, or pie weights to simulate the pie filling and keep the crust from bubbling up or cracking while it bakes and sets into the right shape. Cooking the crust before filling it ensures that it is fully cooked when your pie is done, and helps prevent sogginess.
Line the pie crust with parchment paper (note, this is very different from wax paper, do not use wax paper!). It will stick out all over and look ugly but that's okay, we will fix that. Pour dried beans or rice into the paper until it fills out and takes the shape of pie filling. Take a pair of scissors and cut off the excess paper, but leave enough so you can pick it up. What I have in the photo or a little more is good. Pop it into the oven at 350 for 20 minutes. Take it out, let it cool slightly, and very carefully take out the beans/rice, making sure that they don't touch the crust because they stick and you don't want dried beans or rice in your lovely pie. Put the now empty crust back into the oven for 10 more minutes, then take it out and let it cool completely before filling it. When baking the pie, cover the crust with a circle of aluminum foil (or a pie crust cover) so it doesn't burn.
The beans or rice can be re-used to bake other crusts but they won't be good for cooking and eating after being baked, so keep this separate from your other stashes of beans and rice.


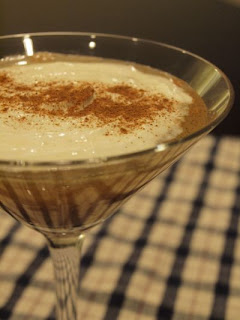
 I set out New Year's Eve with grand plans to make all sorts of amazing martinis. It didn't quite turn out that way, but it was fun and I did end up with one successful drink recipe and got some practice making the glasses pretty.